How to Dispute Credit Report Errors & Improve Your Score
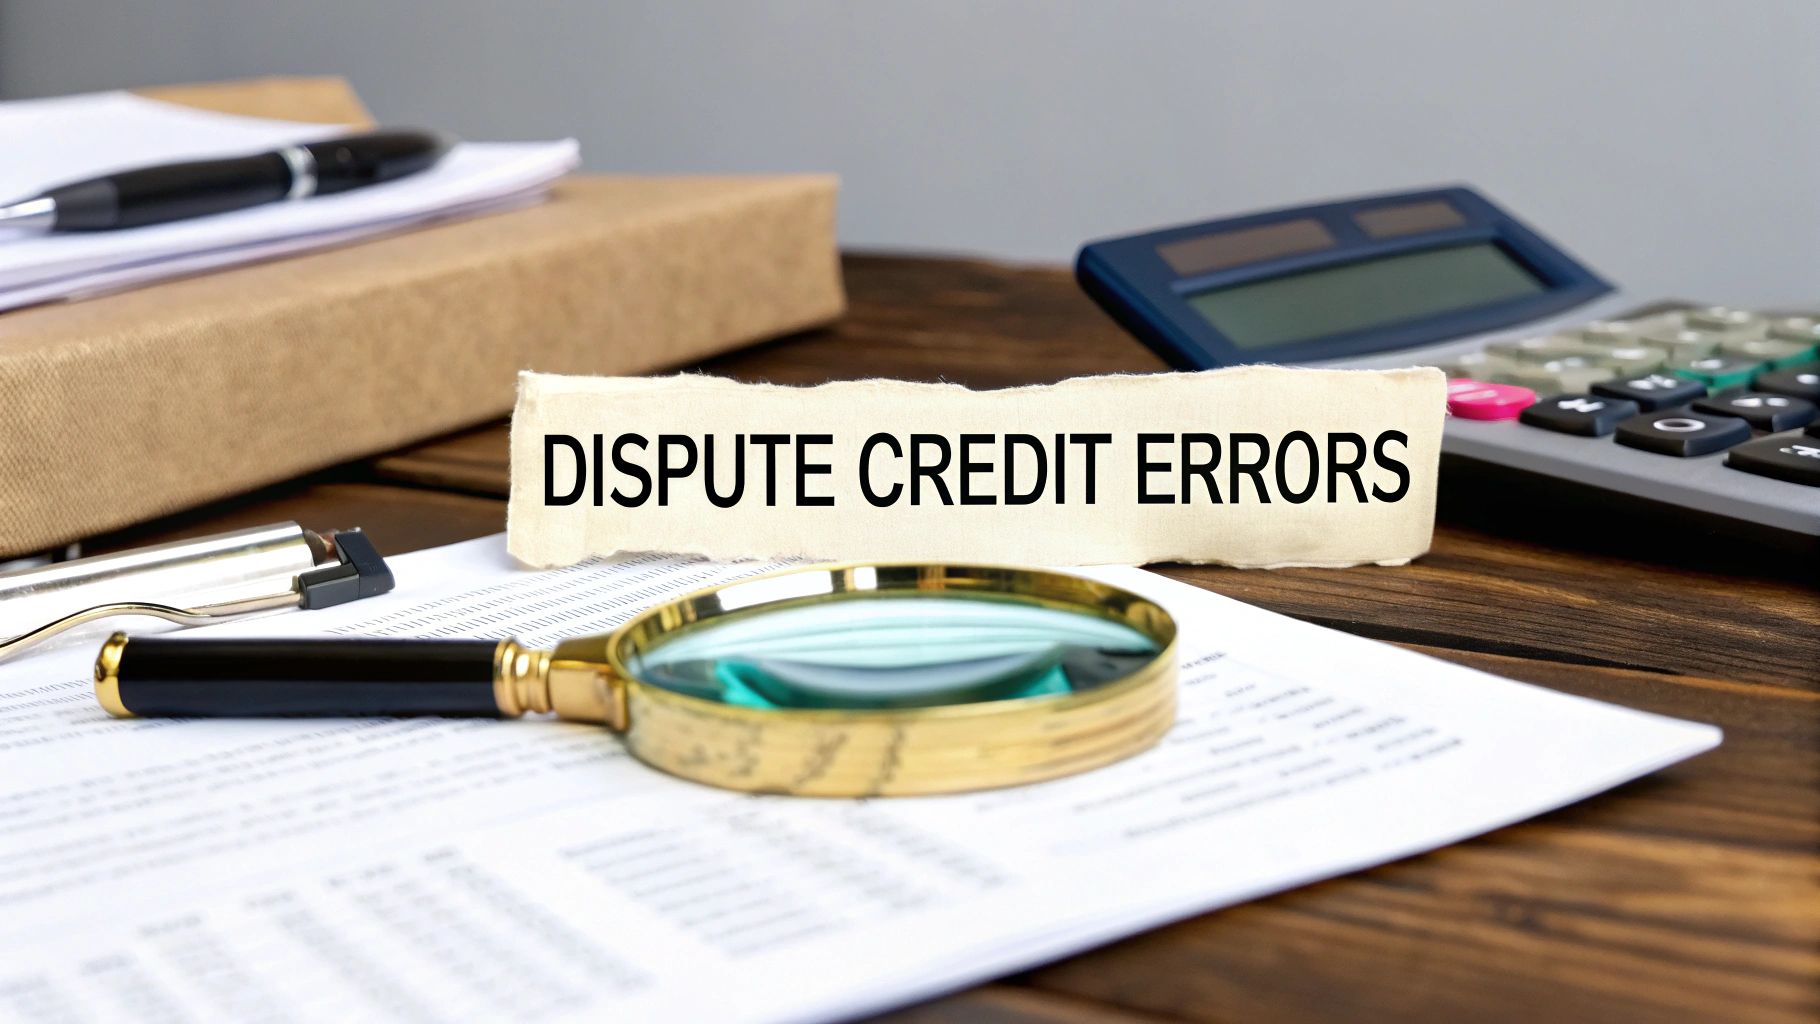
Leaving your credit report unchecked is a financial risk you just can't afford to take. It might seem like a small thing—a misspelled name, an old address you don't recognize, or an account that isn't yours—but these little errors can have massive consequences. They can stand directly between you and your financial goals. That’s why learning how to dispute credit report mistakes is one of the most important skills you can develop to protect your financial future.
Why Your Credit Report Demands Your Attention
Think of your credit report as your financial reputation on paper. It's the first thing lenders, landlords, and sometimes even employers look at to see how reliable you are. When that report is riddled with errors, it tells the wrong story about you, and that story can be expensive. A single mistake could be the reason you’re denied a car loan, get stuck with a painfully high interest rate on a mortgage, or even lose out on a great apartment.
This isn't some rare, hypothetical problem, either. A landmark study from the Federal Trade Commission (FTC) revealed that about 5% of U.S. consumers had serious, damaging errors on their credit reports. That’s millions of people who might be overpaying for loans and insurance simply because of a mistake they don't even know is there. You can read more about these findings and the importance of checking your report on debt.org.
Common Errors and Their Impact
Knowing what to look for is half the battle. Mistakes on credit reports come in all shapes and sizes, and each one has the potential to drag down your credit score. If you want a full breakdown of every section, our guide on what a credit report explained is a great place to start.
Here are the most common culprits I see:
The Cost of Inaction
Let’s put this in real-world terms. Imagine you’re applying for a mortgage and get quoted an interest rate that's 1% higher than you expected, all because of an error on your credit report you never bothered to check. Over the life of a 30-year loan, that single percentage point could easily cost you tens of thousands of dollars in extra interest.
The stakes are just too high to leave it to chance.
Your first line of defense is simple: check your credit reports regularly. By law, you are entitled to free copies from the three major credit bureaus.
The only place you should go for this is AnnualCreditReport.com. It's the official, federally authorized source for your free reports from Experian, Equifax, and TransUnion.

Using this official portal ensures you get your data safely and for free, as protected by federal law. Being proactive here puts you in the driver's seat, letting you spot and fix problems before they have a chance to mess up your financial plans.
Building Your Case Before You File a Dispute
I've seen it time and time again: a successful credit dispute is almost always won before you ever mail the letter. If you rush into the process without solid proof, you're essentially walking into a negotiation empty-handed. Before we get into how to dispute credit report errors, you first need to build a rock-solid, evidence-backed case. Your goal is to make it so easy for the credit bureaus to see the mistake that they have no choice but to rule in your favor.

Think of this preparation as making your claim undeniable. When you present the credit bureau and the creditor with crystal-clear evidence, the entire process moves faster and is far less likely to get bogged down or rejected.
You need to become a bit of a detective. Your mission is to gather every single piece of documentation that proves your side of the story.
First, Gather Your Core Identification Documents
The first thing you have to do is prove you are who you say you are. This is incredibly important for ITIN holders because simple mix-ups with names or numbers can be the root cause of the error in the first place. The bureaus legally cannot even start an investigation until they've verified your identity.
Start by making clear copies of these key items:
Getting these documents ready from the start prevents those frustrating initial rejections and shows the bureau you mean business.
Next, Collect Evidence That Directly Proves the Error
Now it's time to find the proof that directly contradicts the mistake on your credit report. The exact documents you'll need depend entirely on the type of error you're fighting. Simply saying "this is wrong" won't get you very far.
For instance, if you're disputing a late payment, a letter saying "I wasn't late" is weak. But a bank statement showing the payment clearing before the due date? That's powerful.
Here are a few common situations I see and the kind of proof that gets results:
Scenario 1: The Balance is Wrong or a Paid Debt is Still Open This happens a lot. If an account shows you owe more than you do, or a debt you've already paid off is still listed as active, you need to prove you paid it.
Scenario 2: An Account on Your Report Isn't Yours This is a major red flag, potentially for identity theft, and you need to act fast. Your goal is to show you have absolutely no connection to the fraudulent account.
Scenario 3: Your Personal Information is Wrong (A "Mixed File") This is when someone else's information gets mixed in with yours. The key is proving which information belongs to you and which doesn't.
Once you have all your documents, make a simple checklist to keep track of everything. This organized, methodical approach turns a simple complaint into a compelling, evidence-based case that the credit bureaus are required by law to investigate properly.
The Right Way to Submit Your Credit Dispute
You’ve done the hard work of gathering your evidence. Now it’s time to officially file your dispute. This is the moment you formally notify the credit bureaus—Experian, Equifax, and TransUnion—that your report contains an error that needs to be corrected. You've got a few ways to do this, and frankly, the method you choose can make or break your case.
You can file online, over the phone, or by mail. While the online portals are quick, I've learned from experience that they aren't always the best tool for the job. Some of these platforms can limit what you can say or what kind of issues you can even dispute. When it comes to something as critical as your credit history, especially for ITIN holders where every detail matters, a solid paper trail is non-negotiable.
This is why I almost always tell people to submit their dispute by certified mail with a return receipt requested. It may seem a little old-school, but doing so creates a legal, documented timeline. You get irrefutable proof of when the credit bureau received your dispute package, which is what starts their 30-day investigation period required by law.
Choosing Your Submission Method
Each method for filing a dispute has its own set of trade-offs. Thinking through them helps you pick the best approach for your specific problem.
Credit Bureau Dispute Methods at a Glance
Choosing how to submit your dispute is a strategic decision. While online is fast, mail provides a level of legal protection that's hard to beat for complex issues. This table breaks down the main options so you can weigh them for yourself.
Ultimately, for anything more than a simple typo, the control and proof that certified mail provides is invaluable. It ensures you have the documentation needed if you have to escalate your claim later.
One crucial point to remember: you must dispute the error with each of the three credit bureaus reporting it. Just because you get an error fixed with Experian doesn't mean it will magically disappear from your Equifax or TransUnion reports. You have to tackle each one individually.
Writing a Powerful Dispute Letter
Think of your dispute letter as your formal case. It needs to be professional, direct, and incredibly clear, making it easy for an investigator to understand the problem and take action. This isn't the place for long, emotional stories. Just stick to the facts and let your evidence do the talking.
Your goal is simple: clearly state who you are, what the error is, why it's wrong, and what you want them to do about it. The process is straightforward, as you can see below.
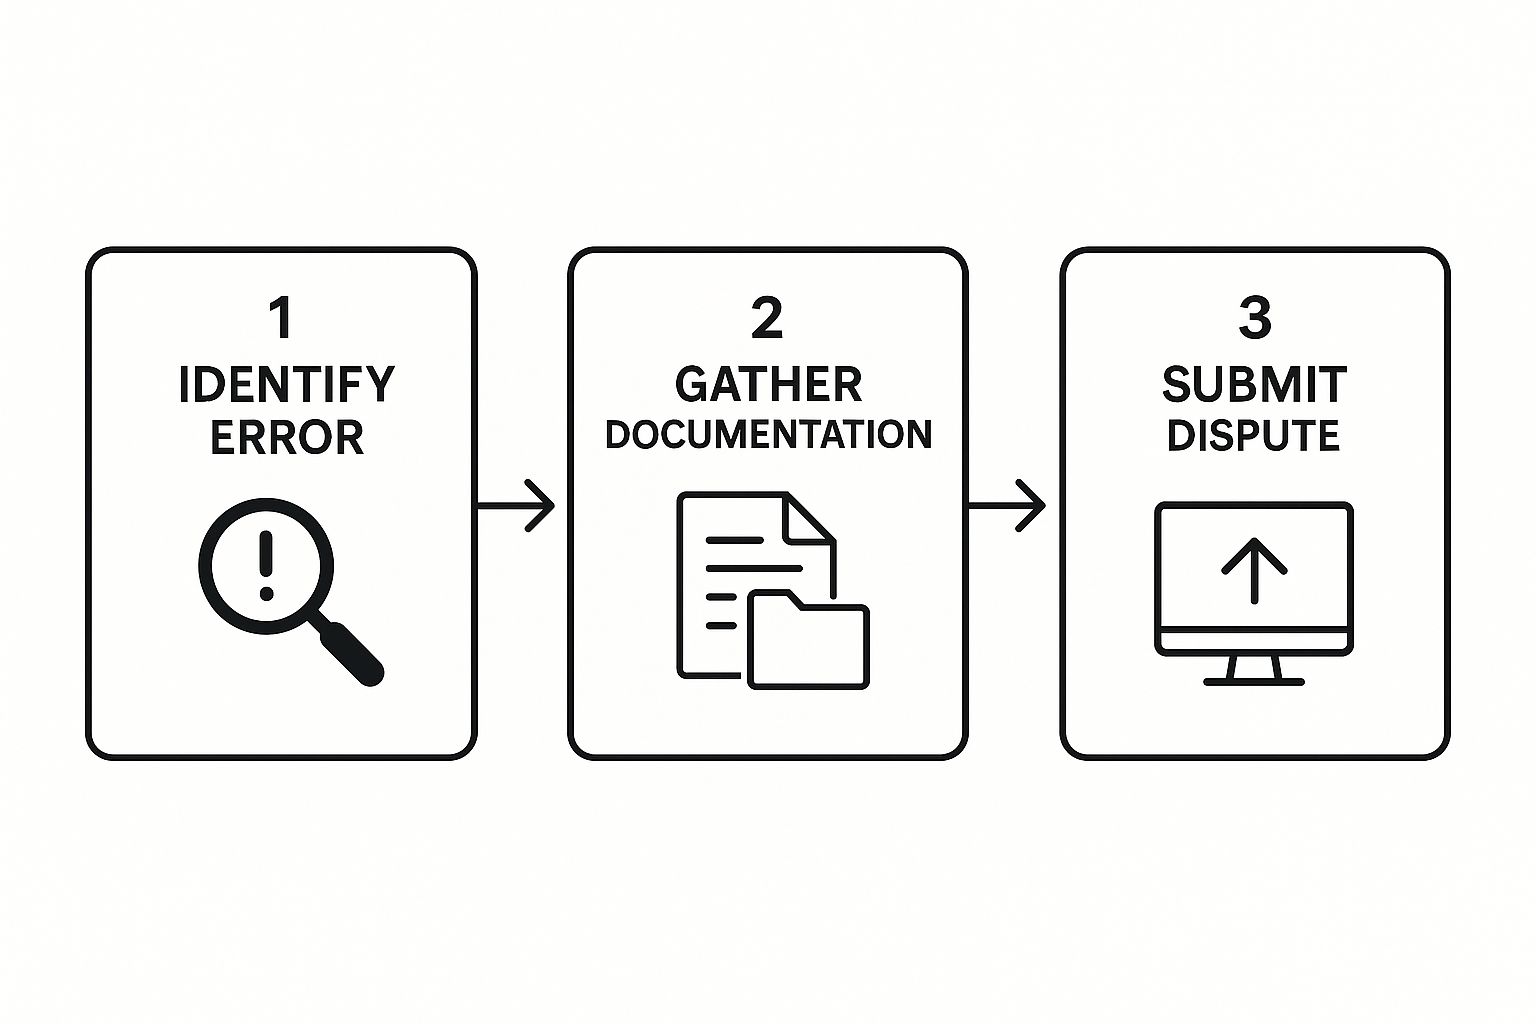
As the visual shows, a successful dispute follows a logical path where each step builds on the last.
Here's exactly what your letter needs to include, followed by a template you can easily adapt.
Don't forget to send a separate, customized letter to each bureau that's reporting the error. If you need a deeper dive into the overall strategy, you can learn more about how to dispute credit report errors in our comprehensive guide.
Here are the direct links to each bureau's dispute center and the mailing addresses you'll need:
What Happens After You Hit Send

So you’ve sent your dispute letter. Now what? The waiting game can feel like a black hole, but there's a specific, legally-mandated process that kicks in the moment the credit bureau gets your mail. Understanding this process will give you some peace of mind and help you plan your next steps.
Your biggest ally here is a powerful federal law called the Fair Credit Reporting Act (FCRA). This law isn't just a suggestion; it sets firm rules for how the credit bureaus must handle your dispute. It’s what ensures they take you seriously and conduct a real investigation.
Thanks to the FCRA, there's a strict deadline. From the day they receive your dispute, the credit bureau generally has 30 days to investigate and get back to you. This is precisely why sending your letter via certified mail is so critical—it gives you a rock-solid start date for that 30-day clock.
The Investigation Process
Once that clock starts ticking, the bureau has work to do. They can't just file your letter away. They are legally required to pass along all the information and evidence you sent to the company that supplied the information in the first place.
This company is called the data furnisher. It might be your bank, credit card issuer, or even a debt collector. The data furnisher then has to conduct its own internal review to check its records and see if the information it reported was actually correct. Once their investigation is done, they have to report their findings back to the credit bureau.
While all this is happening behind the scenes, you can usually check the status of your dispute by logging into your account on the credit bureau's website. They’ll typically show when the dispute was opened and when you can expect a resolution.
After the investigation is complete, the credit bureau must send you a written notification of the results. This is the letter you’ve been waiting for, and it will lay out exactly what they found.
Understanding the Three Possible Outcomes
When that final notification letter arrives, the result will almost always fall into one of three buckets. Knowing what they are ahead of time helps you prepare for what comes next.
No matter which outcome you get, read that notification letter from the bureau carefully. It holds the key to your next move. If your dispute was successful, congratulations! Your work is done. If it was denied, it’s simply time to gather your thoughts and prepare for the next round.
What to Do When Your Credit Dispute is Denied
Getting a letter saying your dispute was denied can feel like a punch to the gut. After you've put in all that work gathering your documents and laying out your case, seeing that rejection feels final. But I'm here to tell you it’s almost never the end of the road. Think of it as just the next step in the process.
Most of the time, that first denial simply means the creditor who reported the information—the “data furnisher”—did a quick check and confirmed their records match what's on your report. It doesn't mean a real person conducted a thorough investigation. In fact, these initial verifications are often automated, so your carefully prepared dispute might have been kicked back by a computer.
Go Back and Strengthen Your Case
Before you fire off another letter, take a moment to look at your original dispute with fresh eyes. Was your evidence as strong as it could be? Was your explanation crystal clear and to the point? Sometimes, a denial happens simply because the proof wasn't compelling enough to make the creditor second-guess their own records.
Let's say you were fighting a late payment mark. Maybe you just sent a letter explaining what happened. For your next attempt, you need to bring stronger proof. A copy of your bank statement showing the payment clearing before the due date is the kind of concrete evidence that's hard to ignore.